Salmon Cakes

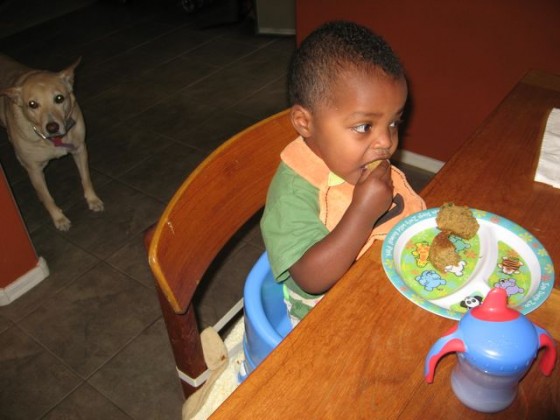
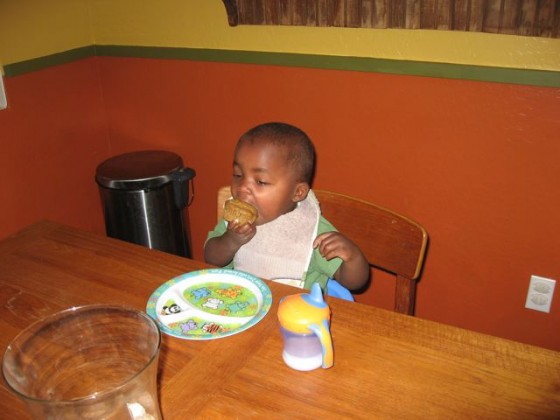
I first read about these salmon cakes over at Musings of a Housewife last month and finally gave them a try last week a (and again last night). Matt and I love them! Noah and Ezra are the true test of any recipe though. Their opinions? On their plates absolutely would not try, but off of mommy’s plate some of the best food they have ever eaten. Ezra even ate the leftovers with me for lunch today.

If you are like me and often just read the ingredients’ list to make sure you have everything and the instructions while you are prepping dinner, I’ll give you a heads up. You have to chill the cakes for 20 minutes before you cook them.

Salmon Cakes

Ingredients:
1 (14.75-oz) can salmon
1/4 red pepper, small diced
1/4 onion, minced
1 egg
1/2 cup bread crumbs
1 Tbsp Worcestershire sauce
1/4 tsp pepper
1/2 tsp salt
1/4 cup shredded cheese (cheddar or other)
2 Tbsp chopped fresh parsley (or 1 tsp dried)
2 Tbsp flour
1/4 cup butter
3 Tbsp olive oil

Instructions:
1. Saute onion and red pepper in olive oil/butter.  Let it cool.
2. Combine salmon, egg, bread crumbs, sauce, cheese, parsley, salt and pepper. Add onion and red pepper and mix well.
3. Form into four patties.  Dust lightly with flour.  Chill for 20 minutes. (The chilling is important. Otherwise they fall apart.)
4. Heat butter and olive oil in skillet on med-high heat and cook patties until browned on both sides, about 10 minutes.  Drain on paper towels and serve with veggie. (I’ve never drained them and haven’t found them to be overly oily when I cook them. I don’t think I used a 1/4 of butter and 3 tablespoons of olive oil though.)

Ethiopian Food and Cooking

I love cooking, I love it more now than I ever thought I would. Yes there are nights I don’t want to cook dinner, but once I start the process my mood usually improves. I had never had Ethiopian food before we decided to adopt from Ethiopia. I quickly found out I love it. It is now tied with Mexican as my favorite food. I had put off learning to cook Ethiopian food for far too long. I had built it up in my head as an impossible task, yes injera is not so simple and I need work in that area, but other than that it is like cooking any other food, just different spices.

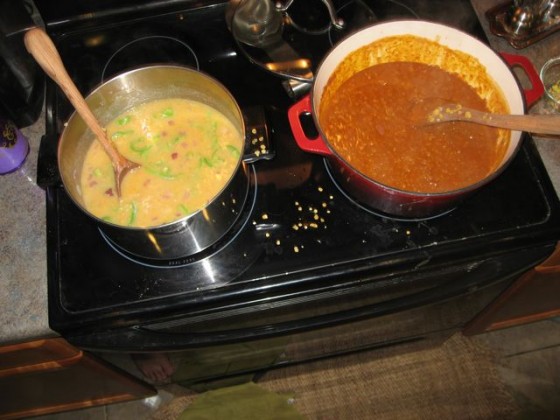
I am so glad I finally started trying to cook the food. The other night I made two dishes one was bland and I probably won’t ever make it again, just wasn’t really my taste, and the other was SUPER spicy. Like so spicy I was sweating from every pore in my body, but it was also very, very YUMMY. Matt went back for seconds even though he is not a SUPER spicy food eater. The next night I made another half recipe without the berbere so I could combine what was left from the first night with it. The result was the perfect amount of spice for us.

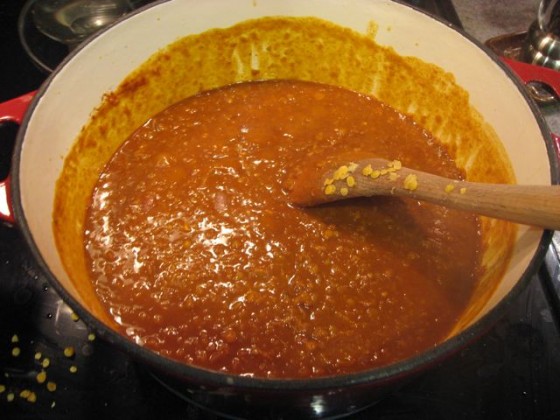
Yemisir Kik We’t

Ingredients:

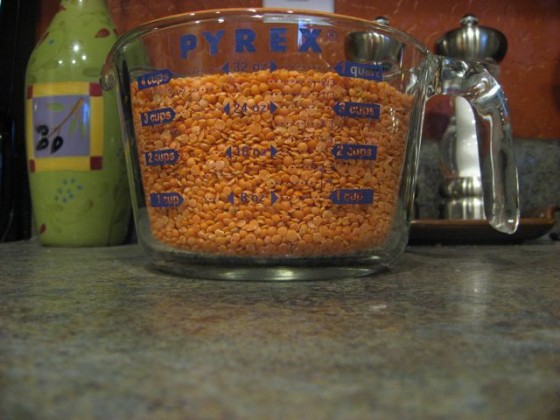
2 cups split lentils (there are 4 cups in the picture, I was making two different recipes with lentils)
6 cups water (boiled)

2 cups red onions (chopped)
1.5 cups oil (I later learned this was a spiced oil that I should have made ahead of time, I just used olive)
1 Tbsp. ginger
1 tsp. garlic (I just used a clove)
1 cup berbere (I thought I was smart and only used 3/4, haha still too spicy)
1/4 tsp. cumin

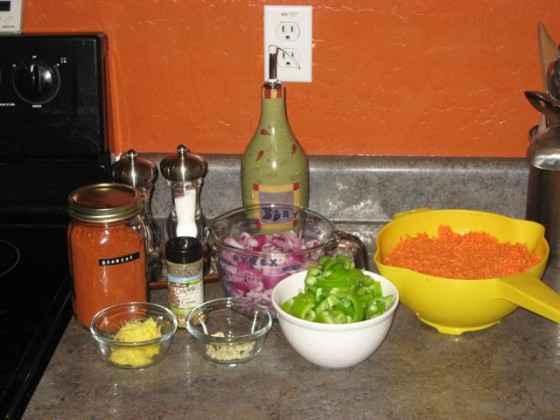
The ingredients for both of my dishes

Preparation
Wash lentils and boil for 5 minutes (until the lentils are tender). Cook onions adding oil and stirring gently until golden brown adding a little water as needed (I didn’t see a need with all that oil!) to prevent sticking. Remove lentils from heat, drain and reserve water for later use. Add the lentils to the onions. Add reserved water stirring to prevent mixture from sticking to the bottom of the pan. (the second night I was lazy and skipped draining the lentils and just added it all at once) Add everything else. Simmer for 20 minutes. 6 or more servings.

Helpers being silly


Uh-oh the helpers are done!

Noah on the second night decided he was just join in on the fine, he was so mad when I wouldn’t let him stick his spoon in my pot.

Yet’ef Injera

Utensils:

large pancake pan or large frying pan

large pot

deep mixing bowl

Ingredients:

1.5 pounds teff flour

6 cups of water

2 pkt. yeast

Preparation:

Clean teff thoroughly by removing all foreign materials , grind to a fine powder (mine was flour already, so I skipped.)  Sift into a deep mixing bowl.  Adding water gradually and rubbing with the fingers to avoid lumps, make the flour into a dough.

In a large pot dissolve yeast in warm water and add the flour mixture and mix.  Leave covered for 2-3 days until fermentation begins and water rises to the top.  (I waited until the whole top layer was water, only took 2 days)  Carefully discard the water.  Boil 2 cups of water.  Take 1 cup of the mixture, put in the boiling water (Abseet’).  Place on a warm stove and stir continuously until it becomes thick (maybe 5 minutes).  Cool and pour back into the original pot.  Add more water (??? how much, I had no clue so I added a little at a time until it became more like runny pancake batter), cover and let stand till the mixture rises (doesn’t ‘rise’ like you expect bread dough to rise, mine just started to get all bubbly again).

Preheat pancake pan at 420° (I borrowed my neighbor’s electric skillet, and we ended up folding it closed and heating from both sides).  Take 3/4 of the mixture and pour into the pan slowly, starting at the edge, going clockwise, in circles and coming to the center.  Cover pan 2-4 minutes.  When ready, the rim of the injera will rise from the pan.  Remove immediately and place on a clean cloth to cool.  Injera can be covered and stored in a cool place or refrigerated for about 2-3 days.  Makes 6-8 servings.

From Exotic Ethiopian Cooking.

Zucchini, Zucchini, Zucchini

Summer gardening season is upon us and if you planted zucchini you will more than likely have more than you know what to do with. Recently another gardener gave me about six pounds of zucchini and I’ve been working my way through it. I thought I would share a couple of recipes we really liked.

Black Bean Zucchini Quesadillas I didn’t have green onions or jalapeno so I made a couple of changes. First, I sautéed half a yellow onion with a clove of garlic (I could have used the whole onion). Second, I put in some cumin and cayenne pepper. Other than that I made it as is. It made more than enough for our family, so I froze the rest. I reheated one today for my lunch in the toaster oven and it came out great. 🙂

Lemon Zucchini Bread There is a bounty of zucchini bread recipes. I chose this one because it used less sugar than zucchini, a lot of them used more. I made a couple changes to this one too. First, I used half whole wheat/half bread flour. I only used the bread flour because I have a ton of it, I would normally just use all purpose. Second, I used half brown sugar/half white. Third, replaced the vegetable oil with applesauce. I also doubled it and made muffins too, the boys loved it.

Portobello Mushroom and Bell Pepper Sloppy Joes

I made this recipe tonight and Matt and I loved it, the boys didn’t care, but lately they haven’t liked dinner at all, not even old favorites.

Portobello Mushroom and Bell Pepper Sloppy Joes

3 Tbsp. extra-virgin olive oil

2 cloves of garlic, chopped

1 each small green and red bell pepper, cored, seeded, and thinly sliced

1 yellow onion thinly sliced

1 pound portobello mushrooms, wiped clean, black gills scraped out and discarded, and thinly sliced

Salt and pepper

1 cup tomato sauce

2 Tbsp. tomato paste

1 Tbsp. Worcestershire sauce

2 tsp. chopped fresh oregano (I didn’t have)

1/2 tsp. Tabasco sauce (didn’t have, so I used Louisiana hot sauce)

4 whole wheat hamburger buns

1.  Heat 2 Tbsp. oil in a large skilled over medium-high heat.  Add garlic, bell peppers, and onion; cook, stirring, until softened, about 10 minutes.  Add rest of oil and mushrooms; toss well.  Cook, stirring occasionally, until mushrooms are soft and liquid is absorbed, 8 to 10 minutes; season with salt and pepper.

2. Reduce heat to medium.  Add tomato sauce and paste, Worcestershire, oregano, Tabasco, and 3/4 cup water; stir well.  Cook, stirring often, to thicken, about 10 minutes; season with salt and pepper.

3.  Spoon mixture inside hamburger buns.

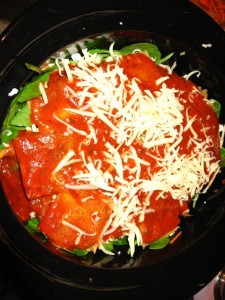
Rotini with Marinara & veggies

I made this recipe the other night and Ezra devoured it and Noah ate it.  The best part about it, lots of veggies!  They ate the veggies with no issues, possibly because they didn’t realize they were there.

Rotini with Marinara, Broccoli, Carrots, and Peppers

Good Housekeeping October 2008

12 oz. rotini or penne pasta

1 bag (12 oz) broccoli florets (I had some fresh that I just steamed and added at the end)

1 Tbsp. olive oil

2 med. carrots, thinly sliced

1 sm. onion, chopped

1 lg. red pepper, chopped

2 c. marinara sauce

3 oz. sliced pepperoni, cut into slivers (we skipped so it was a vegetarian dish)

1/4 c. loosely packed fresh basil leaves, thinly sliced (oops forgot to buy, would have been yummy)

1/3 c. freshly grated Parmesan cheese

1.  Heat large covered saucepot of salted water to boiling on high.  Add pasta and cook as label directs, adding broccoli to saucepot 4 minutes before pasta is done.

2.  Meanwhile, in deep 12 inch nonstick skillet, heat oil on medium 1 minute.  Add carrots, onion, and pepper; cook 8 minutes or until tender, stirring occasionally.  Stir in marinara sauce and pepperoni; cook 2 minutes to heat through.

3.  Drain pasta and broccoli; stir into skillet with marinara mixture.  Sprinkle with basil.  Serve with Parmesan.

Butternut Squash Casserole

I made this recipe the other night and it is yummy. Ezra ate just the squash, and Noah ate mostly squash with a few noodles.

Butternut Squash Casserole
Parents Magazine

1/2 butternut squash, peeled and cut into 1/2″ cubes (2 cups) Okay I don’t know about you, but what the heck would I do with the other half of the squash? I just buy a small/medium one and use the whole thing, also they have really thick skins so I don’t peel, I chop in half and then use my melon baller.

2 tsp. olive oil
1/4 tsp. salt
1/2 lb whole wheat elbows, I found quinoa elbows at Whole Foods in the bulk food section
2 Tbs. butter
2 Tbs. Flour
1 1/4 cups reduced-fat milk
1 3/4 cups low-fat, white cheddar cheese shredded and divided (1.5 cups and .25 cups)

1. Preheat oven to 375°F. Toss squash with oil and salt on a foil-lined tray. Bake for 20 minutes or until tender, set aside.
2. Cook pasta for 2 minutes less than package directions; drain and place in a bowl with squash. Meanwhile, melt butter over low heat. Whisk in flour; cook for 2 minutes.
3. Slowly whisk in milk. Bring mixture to a boil then simmer for 3 minutes, stirring occasionally. Add 1.5 cups of cheese stir until melted. Stir cheese sauce into pasta and squash.
4. Spoon into 6 greased, individual ramekins. Sprinkle remaining cheese. Bake 10 minutes. Okay I don’t have ramekins so I bake in a 8 x 8 pan.

Nutrition per ramekin 330 calories; 17g protein; 13g fat (7g saturated); 39g carbs; 3g fiber; 329mg calcium; 2mg iron (mine would be slightly different since I used quinoa instead of whole wheat)

Hummus!

I have been on a huge hummus kick for the last several months. Serious addiction is more like it. Needless to say I was thrilled the other day when Erica posted this recipe.

(I know totally lame to just link for a NaBloPoMo, but it has been a long and tiring day)

Pesto Chicken and Sweet Potatoes

I recently discovered this blog and was thrilled. I am learning to love my slow cooker more and more every week. It allows me to put meals together during nap-time and it doesn’t heat up the kitchen. When I saw this recipe I had to try it. I love sweet potatoes and pesto! I had never thought of layering a meal in the crock pot and was super excited to try it. Hey its the little things people!
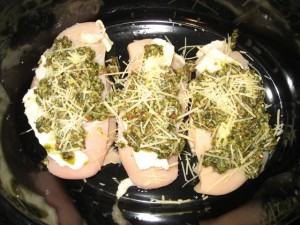
IMG_4584

The chicken going in, I had some parmesan left over from another recipe so I added that instead of all mozzarella.  Also, I didn’t make her pesto since I still had some in the freezer from last year’s bumper basil crop.
IMG_4585

The sweet potatoes! YUM!
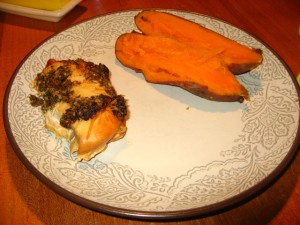
IMG_4592

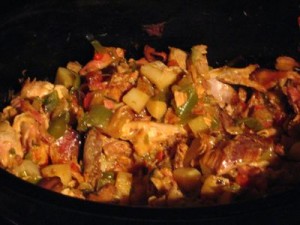
The finished product.

Overall I loved this recipe and will do it again.  Unfortunately the chicken came out a little dry.  This is my fault, I know my crock pot is a rock star and cooks a little faster than most but I still used the suggested times, and I used small chicken breasts not the breast halves or thighs that she suggest.

Random Tip:  When chicken comes out dry and I know neither of us will eat the leftovers as is, I shred it up toss it with some lite mayo, little mustard, little lemon juice, cayenne pepper (if I am feeling spicy), and some grapes and/or apples chopped up.  This makes a yummy chicken salad sandwich.

Crock-Pot Enchiladas

This is loosely adapted from a chicken enchilada recipe that I had.  I left out several ingredients, including the chicken, a jalapeno, and olives, so if you want to add those in feel free, but Matt and I like it just the way I made it, easy and simple.

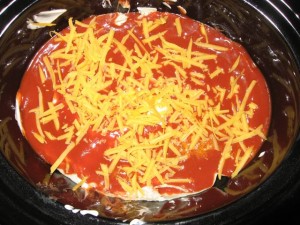
IMG_4454

4-6 – 10″ tortillas, depending on the size and shape of your crock

2 – 16 ounce cans of refried beans, I used the black beans, fat free and yummy

1 – 16 ounce can of enchilada sauce, I used red, but I am sure green would work too

4 ounces of cheese, I used cheddar, you could use more if you really like cheese, but I was trying to not add too much fat

8 ounces of sour cream, use more or less your choice

Spray crock-pot with non-stick oil, put down a layer of tortillas, spread on one can of refried beans, then add some cheese and sour cream.  Another layer of tortillas, the second can of beans, cheese and sour cream.  Top it with a last layer of tortillas, sour cream if you need want more, the entire can of enchilada sauce and then sprinkle with cheese.  I cooked it for 2 hours on low, 2.5 would probably be better as I did find one cool sour cream glob.  🙂  You could probably do 1.5 on high if you needed it faster.

I easily assembled this during afternoon nap and it was delicious and meat free!

Farmers' Market Lasagna

I realize it has been forever since I posted a recipe on my blog.  I can’t even blame it on the boys, it has been since last November since I posted a dinner recipe.  The one hobby I love, and can somewhat still find time for, is cook.  I have not baked since bringing the boys home, but I blame the heat more than them.  They might be filling up the majority of my time now (loving it), but Matt and I still have to eat.

Here is a fairly healthy recipe from Parents magazine.  I adapted it so I can use my crock pot instead of the oven (its already hot enough here, don’t need to heat up the kitchen).  Its also meat free, so if you are looking to go meatless one or two nights a week this is a great option.

Farmers’ Market Lasagna

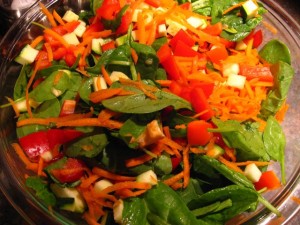
1 zucchini, chopped

1 red sweet pepper, chopped

1/2 cup shredded carrot

3 cups of spinach

1 jar (26 0z) pasta sauce

6 regular lasagna noodles, broken in half (uncooked) (When using the crock pot just break the noodles apart more so you can make it fit more to the shape of your crock pot.)

1/2 carton (15oz) part-skim ricotta cheese

1 cup shredded part-skim mozzarella cheese

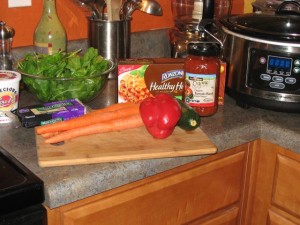
IMG_4365

1.  Prep the veggies Put zucchini, pepper, and carrots in a bowl and pour in 2 tbs. water.  Cover and microwave on high for 2 minutes; drain.  Stir in spinach.  Heat pasta sauce, covered, on high for 2 minutes.  (I skipped all this microwaving, seemed like an unnecessary step if you ask me)

IMG_4367

2.  Pile it in Layer 1/2 cup sauce, 4 noodles, half the veggies, half the ricotta, 1 cup sauce, and 1/3 cup mozzarella.  Stack on 4 more noodles remaining veggies and ricotta, 1/3 cup mozzarella, 4 noodles, and rest of sauce.

3.  Cover with cheese Preheat the oven to 350°F.  Sprinkle with remaining mozzarella and cover the dish tightly with foil.  Bake for 1 hour.  Let stand 15 minutes before slicing.

IMG_4369

Instead of baking for an hour, I cooked it in the crock pot on low for 2.5 hours.  I can prepare it during nap time and it is done by dinner time.  Perfect!

Making Laundry Soap

Recently I ventured into laundry soap making.  Stacie posted this recipe on a yahoo board a while back and I finally gave it a try.  The cost is significantly less than what I was using before and it was super easy to make.  Matt helped me and I think it took the two of us less than 5 minutes.  (It might actually take longer if you actually had to heat the water, the water is practically boiling out of our tap right now, it is summer and the pipes run through our attic.) I did some rough calculations on what it cost me to make.  I rounded up my calculations to an even $5 for the whole batch, I also use about 3 ounces with each load instead of the 4 ounces she said to use (I have a front load washer and always use a little less soap), the cost came out to about $.03 per load.  I was using method before and it was about $.19 per load.  A savings of $.16 per load!  Considering how much the laundry has increased with the boys home, it is a much appreciated savings.  I think it works just as well as any soap I have used in the past.  🙂

Here is the recipe for those of you interested:

Laundry Soap

Ingredients:

  • 3.1 oz bar Ivory soap (I used Dr. Bronners all natural/organic and it worked great)
  • 1 cup 20 Mule Team Borax
  • ½ cup Arm & Hammer Washing Soda
  • Water

Tools:

  • 5 Gallon container
  • Knife (we used the cheese grater)
  • Pot large enough to hold 5 cups of water
  • Long stirring stick/spoon (for 5 gallon container)

Instructions:

Shave the soap into small strips and place in the pot with 5 cups of water. Bring the water just shy of a boil and stir until the soap is completely melted. When the soap is just about melted, pour 3 gallons of hot water into the 5-gallon container and let it sit until the soap in the pot is totally melted. Once all of the soap shavings are melted, pour the mixture into the 5-gallon container and stir.

Once the soap and water are thoroughly stirred, add the ½ cup pf washing soda and stir until dissolved. Once the washing soda is dissolved, pour in the cup of borax and stir again until dissolved.

Optional: Essential Oils for fragrance. If you like fragrant detergent, now is when you can add a few drops of your favorite essential oils.

Now you’ve got a huge container of hot soapy looking water. Cover the container, place it somewhere out of the way and let it sit overnight. Once it’s cooled it will gel. It will not gel uniformly so it will be lumpy and watery. It may not be very attractive, but it works. It’s best find smaller storage containers for convenience.

Usage: ½ cup per laundry load is adequate to clean your clothes. This homemade laundry detergent works well in high efficiency washing machines since it is low sudsing.

One word of caution, if using a high efficiency machines: Before pouring the lumpy gel into the detergent receptacle, stir it to break up the lumps. Very large lumps may not fully dissolve, stirring the detergent with a spoon, pencil, or whatever you have available (or your finger), works fine.

Yield:

This recipe yields 442 oz of laundry detergent, of which 4 oz are required per laundry load. With this recipe you should be able to wash 110 ½ loads of laundry.

Green Chile Stew

Another half time, another recipe. (Cardinals are not doing so well at this point 🙁 )


Looking for a great way to use up that leftover turkey? Make a stew. Here is a green chile stew recipe that you can help you use up some turkey.

Instead of using stew meat, I just threw in two pounds of cooked turkey after I browned the onion, bacon, and garlic. It is a fairly easy recipe with yummy results! It is even easier when your husband does all the chopping for you. 🙂

Cranberry Sauce

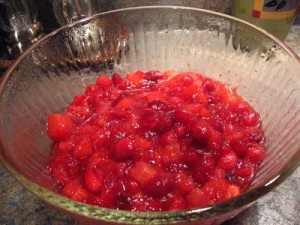
Okay it’s half-time (Cowboys are winning!) so I thought I would share the cranberry sauce I made. It is yummy! I know some people prefer the canned version but I never could get myself to eat it straight out of the can, just not appetizing to me.

Ginger & Pear Cranberry Sauce
Good Housekeeping November 2008

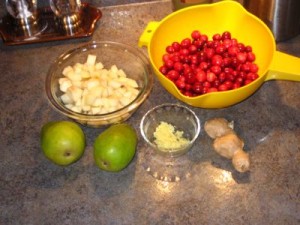
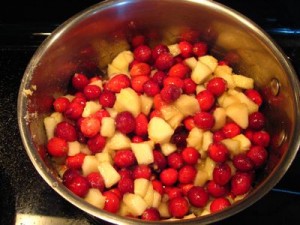
1 bag (12 oz) cranberries, picked over
2 Bosc or Anjou pears (1lb), peeled, cored, and chopped
1 Tbsp. grated peeled fresh ginger
3/4 c. sugar
1/4 c. water

1. In 3-quart saucepan, heat all ingredients to boiling on high, stirring occasionally.

2. Reduce heat to medium and cook, uncovered, 5 to 7 minutes or until most cranberries pop and pears are tender, stirring occasionally. (Mixture will thicken as it chills.)

3. Spoon sauce into serving bowl; cover and refrigerate 3 hours or up to 4 days.

I was tempted to make the Southwestern Cranberry Sauce that was offered instead:

Prepare cranberry sauce as above in step 1, except omit pears and ginger and add 1 jalapeno chile, seeded and finely chopped, 1 teaspoon grated fresh lime peel, and 2 teaspoons fresh lime juice to cranberry mixture. In step 2, cook only 3 to 4 minutes or until most cranberries pop. Complete recipe as in step 3.

I think I will have to give that one a try sometime soon.